Piping can give an extra touch to a latex garment.
Just as with regular textile clothing, you can also apply this to latex clothing.
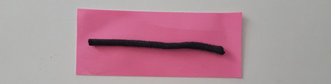
Sometimes it is useful to use normal cotton cord and sometimes elastic. If you are going to apply piping to a piece of latex clothing that is subject to a lot of tension, elastic cord is handy or just a cord of rubber.
In the example below we show 2 methods with different end results. With the first method you make a piping band for a piece of latex. With the second method, the piping strap is placed between two pattern parts, for example in a seam of a shirt, a trouser seam, jeans or between the cups of a bra or corset.
Methode 1:
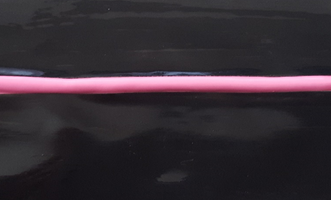
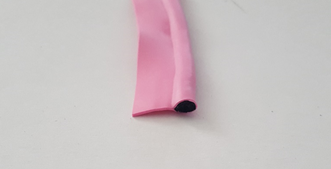
You need one strip of latex and cord in the desired length. The cord should be slightly shorter than the latex, so that the cord is locked up.
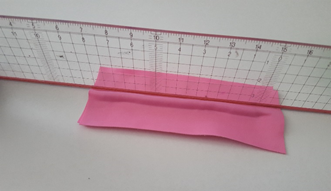
Apply thinner and glue, of course. Allow to dry. And then fold the latex in half. Rub the edges well tightly at the transition to the cord (with the side of a cutting ruler it works perfectly!). You can choose to also lubricate the cord with glue, but if you place it tight enough then that is not necessary.
If you do NOT make the cord shorter than the latex, it will stick out. The result will be that the cord starts to fray and you don't want that. Therefore always cut the cord slightly shorter than the latex.
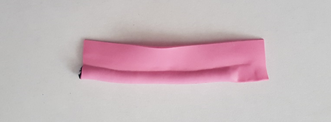
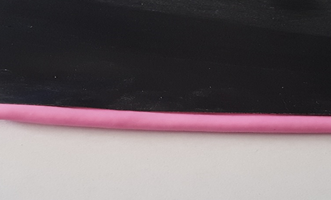
And when the piping belt is ready, you can stick it under a latex pattern part.
Method 2:
You need two strips of latex in the same size and cord in the desired length. The cord should be slightly shorter than the latex, so that the cord is locked up.
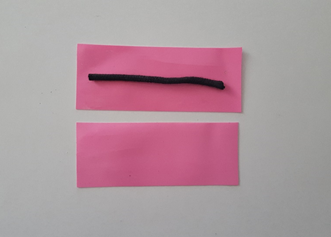
Of course first again thinner and glue on the latex (both strips of latex). Then place the cord in the middle of a strip. Now stick the other strip over everything. Make sure that the latex touches the cord on both sides of the cord. So first neatly rub on one side of the cord, then rub the latex over the cord and then rub on the other side.
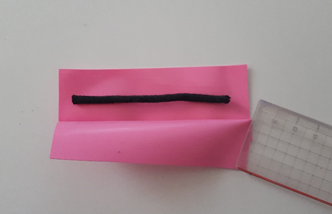
If everything is assembled, then you can rub the back and forth of the cutting line exactly on the transition so that the cord is nicely locked up.
You can then stick other pieces of latex on both sides.